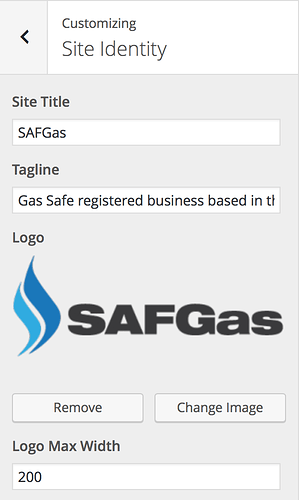
In the same vein, this is how I added an option for a logo and a maximum width for it:
// lib/customizer.php
$wp_customize->add_setting('upload_logo');

  $wp_customize->add_control(
    new \WP_Customize_Image_Control(
      $wp_customize,
      'upload_logo',
      array(
        'label' => 'Logo',
        'section' => 'title_tagline',
        'settings' => 'upload_logo',
        'transport' => 'postMessage'
      )
    )
  );

  $wp_customize->add_setting(
    'upload_logo_width',
    array(
      'default' => '',
      'sanitize_callback' => 'sanitize_text_field'
    )
  );

  $wp_customize->add_control(
    'upload_logo_width',
    array(
      'label' => 'Logo Max Width',
      'section' => 'title_tagline',
      'settings' => 'upload_logo_width',
      'transport' => 'postMessage'
    )
  );
which appears in the Site identity panel:
I’ve uploaded a gist with the full code I used, including the JavaScript for live-updating the preview and some code that prints these options as <style> tags into the head.
Please note that it’s a very basic way of doing things (it was the first time I’d used the customizer) and is just meant to serve as a simple example for piecing all the bits together.
It should probably:
a) be refactored
b) not be shared, but I’ve had a few beers now and I’m enjoying feeling like I’m being helpful 
